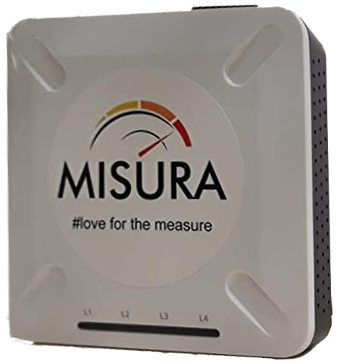
Misura

“Misura” is the device used to read data from the meter. It connects to the local meter through power line communication (radio waves over the electrical wires). To install it, simply plug it into any outlet served by the meters (exchange and production) that you want to read. If the photovoltaic system is three-phase, the socket must be connected to the TL/3 phase.
In detail:
- Open the Misura box
- Find a convenient location with an electrical outlet as close as possible to the meters.
- Plug in and switch it on
- If the Misura model is LAN, connect the supplied LAN cable to the RJ45 socket on one side of the Misura and to a LAN port on your router on the other side. The LAN model has an active DHCP client by default, so it will receive an automatic IP address directly from your router.
- If the Misura model is Wi-Fi, after connecting it to the electrical outlet, press the P1 button on the Misura. The P1 button is the one farthest from the edge. The pressing of the P1 button must be brief. With your PC, identify the Wi-Fi network generated by the Misura. The Wi-Fi named DinoAdmin will be displayed, the password is DinoAdmin. Open the browser on your PC and type the address 10.10.100.10 and press enter. (For the Misura+ device, the address is 10.10.100.100/home) If after typing the address 10.10.100.10 you get no response, type the following alternative addresses: 10.10.100.100, 10.10.100.100/home, 10.10.100.10/home. If everything has been done correctly, a network configuration page will appear in which the SSID (name of the router’s Wi-Fi network) and the respective password to connect to the router’s network must be specified. Leave the configuration with DHCP set and save the configuration with the Save button.
- If the Misura model is a GPRS, after correctly connecting it to the correct power socket, move on to the next point (this also applies to the other two models of Misura)
- In Sunreport, select the path Plant Settings > Connected Devices and press the New button at the top right. In the Misura section that will appear press the Add button, then enter the serial code of the Misura in the appropriate field. Then save the configuration
- The previous point applies whatever the model of the Misura or Misura+
- At this point the Misura will communicate with the photovoltaic system’s meter and ask the distributor to which the meter belongs (typically e-distribution) for authorization to read the data from the meter. This authorization should arrive in two or three days, after which the Misura should begin to publish data in Sunreport in the Measurement Source > Misura section.